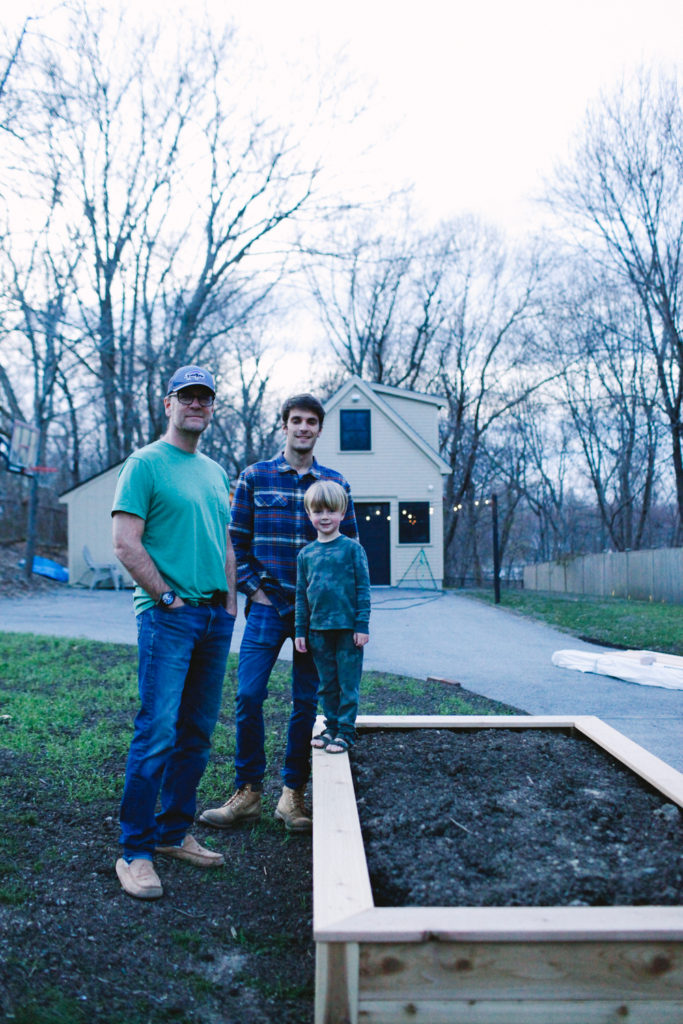
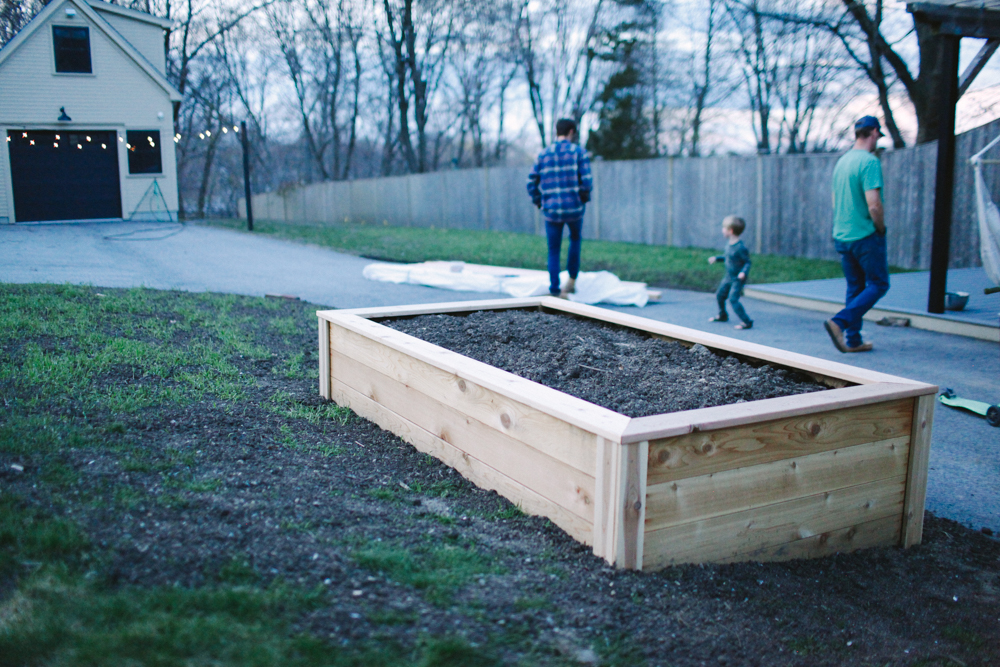
 We’ve been talking about a small garden bed of our own for a long time now, and being stuck at home has been just the time to finally make one. I plan on doing some herbs, lettuces, zucchinis, peppers, and a few other things here, and I’m really looking forward to it. Steve and William built this one, and now William is busy making them in various sizes for local people. It seems that this pandemic has made everyone want to grow their own food. No time like quarantine to start it! Steve wrote out the directions and I will definitely update this with some nicer pictures once our grass has grown in (we just laid some more dirt and seed down) and we’ve got some actual things growing.
Now onto the directions…
4’ x 8’ Cedar Garden Bed
(without the trim on the corners, as pictured above)
Materials (all available at Lowes; Home Depot would have all this stuff too):
12 – 2” x 6” x 8’ Cedar deck boards (avoid cracked, dented, stapled, warped boards)
1 – 4” x 4” x 8’ Cedar Post (ditto)
1 – Box Grip-Rite Tan exterior 3” x 9 exterior screw (T-25 star-driver comes in the box!) = 63 screws (Argh. You will need one extra screw, since the project requires 64 screws!)
Extra-Step: If you intend to create the mid-point anchor to keep the longer 8’ walls from bending/bowing out due to the weight of the soil in the bed (this is optional, but potentially preferable?), you will also need:
1 – 2” x 4” x 8’ Cedar board (you will only need 36” of this 96” board, so if you can find a 4’ 2” x 4”, get it)
12 – Grip-Rite 2-1/2” exterior screws (you might be able to find a smaller box of these)
4 –Wire Rope Clamps 1/8” (Zinc plated)
2 – Screw Eyes #0 2-7/8” (150 lb rated; weather guard)
5’ of Wire Rope (buy it by the foot at Lowes)
Tools:
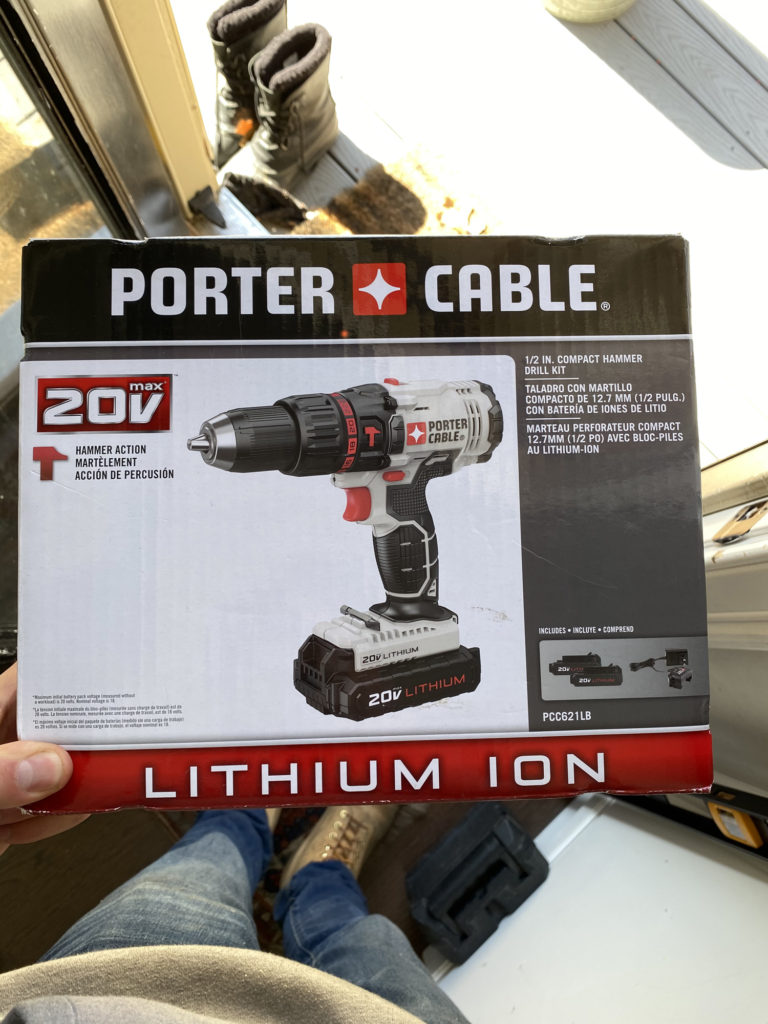
Power drill (the star-drivers for the screws comes with the box of screws; Tip: Two drills is the best way to go since then you won’t have to switch between the drill bits and the star-driver repeatedly, so borrow one from your dad or neighbor)
Drill bits (1/16” and 5/32”—both are in most home-owner style drill bit cases)
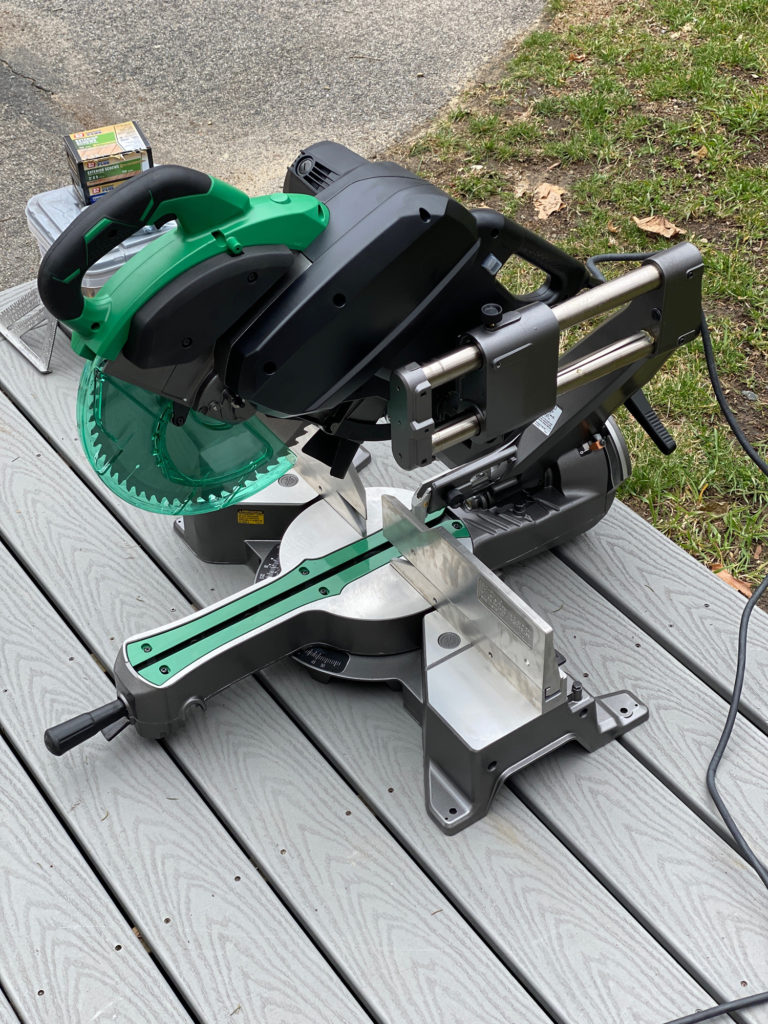
Compound Sliding Miter Saw (a circular saw would work in a pinch, but is definitely not ideal)
Socket set or crescent wrench
2’ or 4’ Level
Shovel
Instructions:
Step #1: Using the compound miter saw, cut all 8’ cedar boards to exactly 8’ (they run slightly longer than 96” from the store; Tip: best to do this with 2 people—one to cut, the other to support the long board while cutting)).
Step #2: Using the saw, cut 4 of the 8 foot 2” x 6”s in half (once cut, we refer to these below as the 4’ 2 x 6’s)
Step #3: Cut the 8’ 4” x 4” post into four 22” posts. (2-person job; if you’re saw is not a “sliding” miter saw, you’ll probably need to rotate the 4 x 4 after the first cut to cut it again all the way through the board)
Step #4: Place two 22” 4 x 4 posts on a flat surface parallel to one another and roughly 4’ apart. (Note: Any small rocks or gravel on the work surface will dent this soft wood, so a deck may be better than a driveway.)
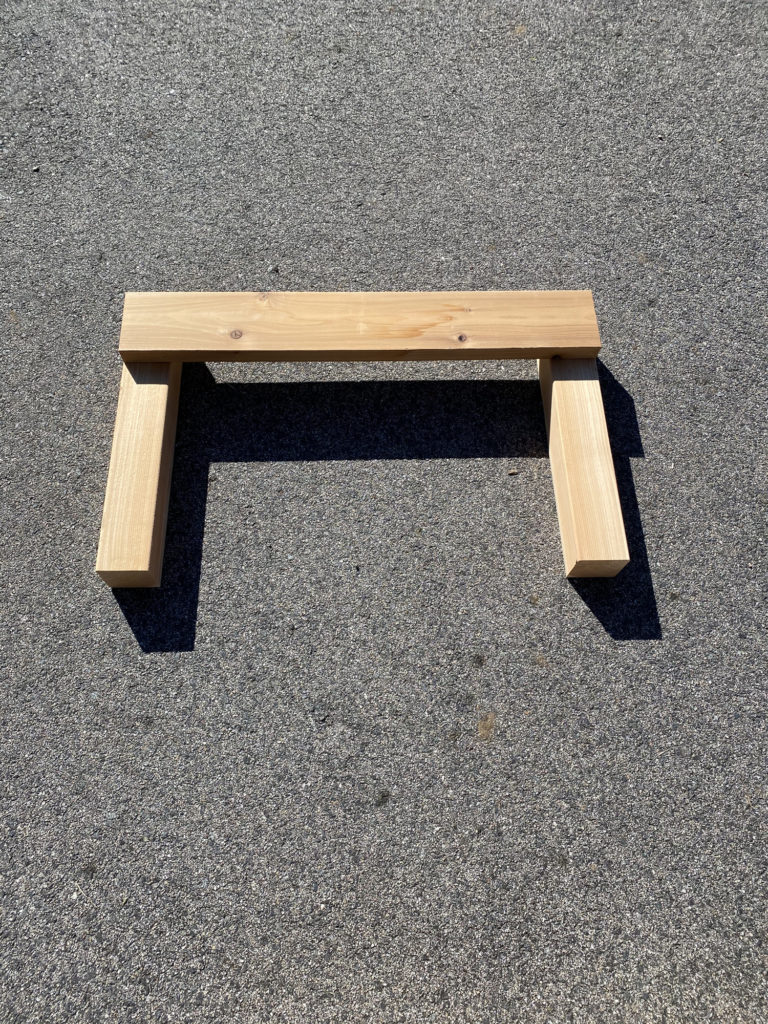
Step #5: Lay one 4’ 2 x 6 perpendicularly across both 4 x 4 posts at one end (pick whichever end of the 4 x 4 posts you like best); ensure that the ends of the 2 x 6 are flush on both outside edges and both tops of the 4 x 4 posts. (Note: This first 2 x 6 board will be the “top” board on your finished garden, so choose the best 4’ board and place the best side out facing you.)
Step #6: Pre-drill 2 holes (use 1/16” drill bit) into the 2 x 6 (to ensure that the cedar 2 x 6 does not split when screwing into it in Step #7) while in position on the 4 x 4 posts. Make sure you are still flush before drilling.
Step #7: Are you still flush on the tops and sides? If so, using 2-3” screws, attach the 2 x 6 to both 4 x 4 posts. The “top” board on one “end” is done.
Step #8: Moving “down” the “end” with three more 2 x 6’s, repeat Steps #5-7 three times (again, use better looking wood first with the best side of the board facing you as you go). Note: when one side is screwed down to the 4 x4, the other side may be a bit warped; if so, stand the “end” up on its “top” and put some weight on the board to make it go flush to the 2 x 6 next to it. When all 4 2 x 6 boards are attached to the 4 x4’s, one short side (4’) of your rectangle garden bed is done. You will likely have about a 1/4” of the 4 x 4 post exposed on the “bottom”. Don’t worry, that is the “foot” of the bed and will be in the dirt.
Step #9: Repeat Steps #4-8; when done, the other short side (4’) of your rectangle garden bed is done.
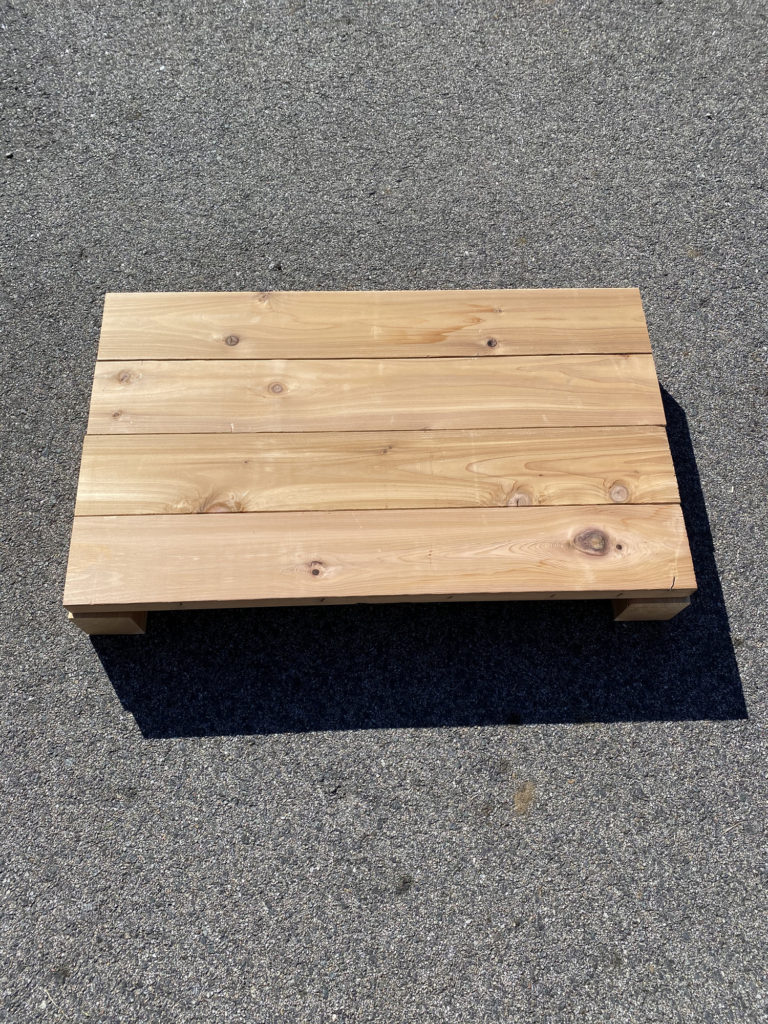
Step #10: On a flat surface, stand the two “ends” up on their “bottoms” and about 8’ apart; make sure that the 4 x 4 posts are on the inside facing each other and the “top” is up, and the “bottom” is on the ground.
Step #11: Rotate the two “ends” now to their “sides” with their “tops” facing in the same direction. The 4-2 x 6’s you attached to each 4 x 4 post should be vertical, rather than horizontal.
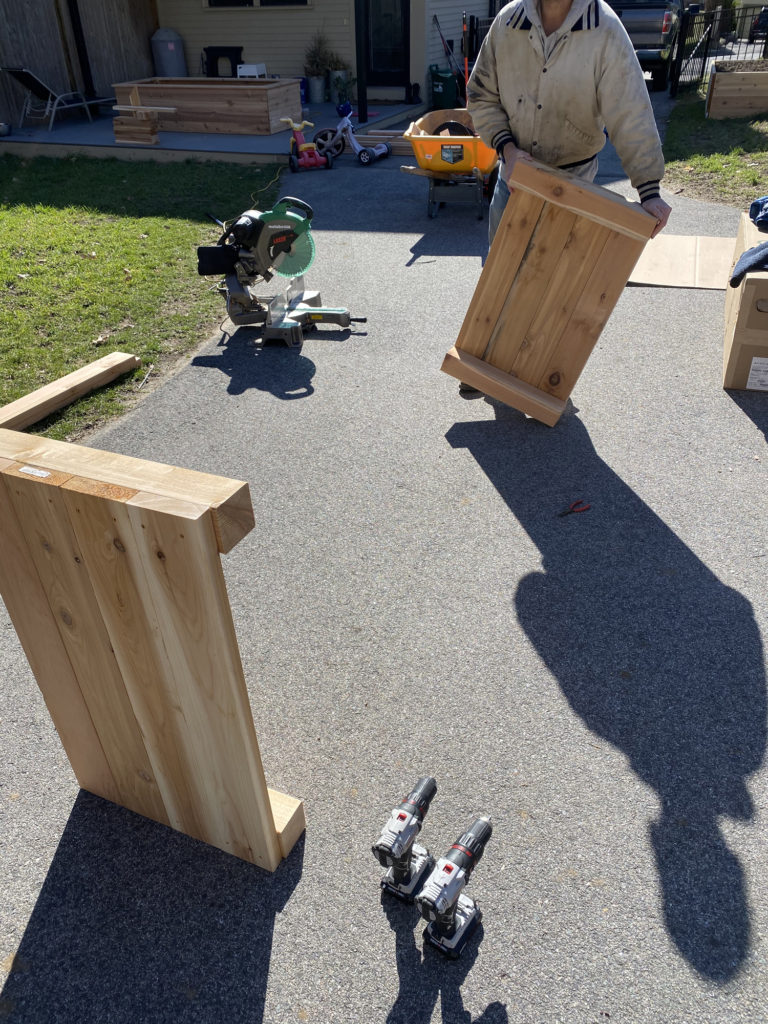
Step #12: This is a 2-person job! Lay one 8’ 2 x 6 perpendicularly across both completed “ends”; ensure that the ends of the 2 x 6 are overlapping and flush on both outside edges of the “ends” (the 2 x 6’s) and both “tops” (the 4 x 4 posts). You’ll probably need to adjust the “ends” in or out on the ground to make the 2 x 6 flush on both sides (try to maintain 90-degree angles where the “ends” and the 2 x 6 meet. (Note again, this first board you attach will be the “top” board on your finished garden, so choose the best 8’ board and place the best side out facing you.)
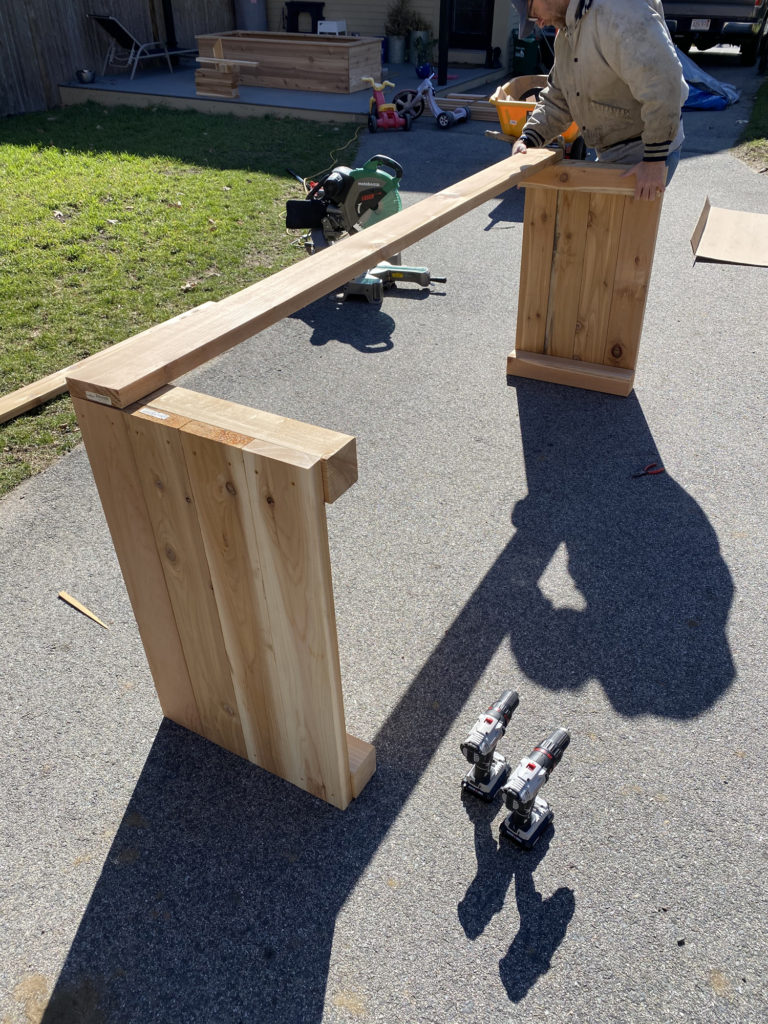
Step #13: Pre-drill 2 holes (use 1/16” drill bit) through the 2 x 6 (again, to avoid splitting the wood when screwing) into the 4 x 4 post. Make sure you are still flush before drilling. Remember nothing is attached here so the whole project is relatively tippy!
Step #14: Are you still flush on the top and side? If so, using 2-3” screws, attach the 2 x 6 to both 4 x 4 posts. The “top” board is done.
Step #15: Repeat steps #12-14 three times (again, use better looking pieces of wood first with the best side of the board facing you as you go). Note: when one side is screwed down, the other side may be a bit warped; if so, rotate the entire unit on its “top” to put some weight on the board to make it go flush to the 2 x 6 next to it. When done, three sides of your rectangle garden bed are done.
Step #16: Rotate the entire unit, so that the bed is sitting with the completed 8’ side on the ground. (Note: is the work surface clean? Small rocks, etc. will dent the wood.)
Step #17: Repeat steps #12-15; Note: having attached on one “end”, you will probably have to pull or push the other “end” slightly to get the 8’ board flush before attaching. Your rectangle garden bed is nearly complete.
Extra-Step #18: To install the mid-point anchor to keep the longer 8′ walls from bending/bowing out:
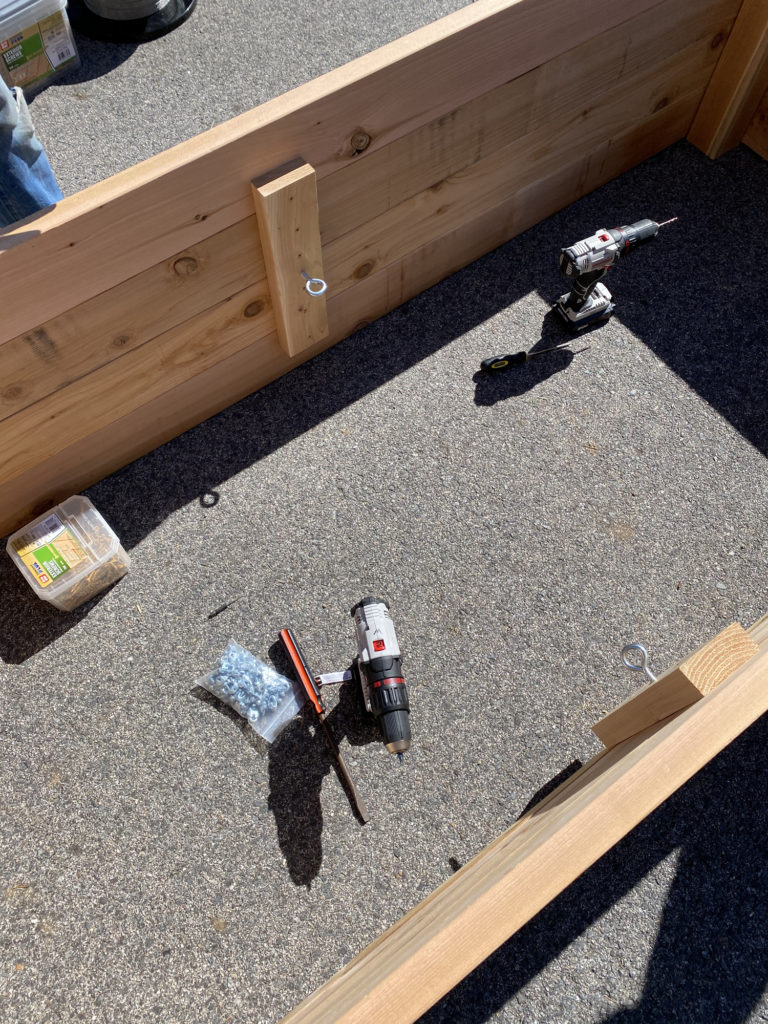
Step 1: cut two 18” boards off of the 8’ 2 x 4.
Step 2: Get inside the bed. At the mid-point (roughly 48”) of one of the 8’ walls, place the 18” 2 x 4 vertically on the inside wall, equidistant from the top and bottom.
Step 3: Pre-drill 6 holes (use 1/16” drill bit) straight down the middle of the 2 x 4.
Step 4: Attach the 2 x 4 to the walls using the 2-1/2” exterior screws (if possible, sink at least one screw into all four 8’ wall boards).
Step 5: Using the other 18” 2 x 4, repeat 18.2-4 on the opposite side of the interior of the bed.
Step 6: With both 2 x 4’s attached to the interior walls directly opposite one another, predrill one hole (use the 5/32” drill bit this time) in the middle of each of the of the 2 x 4’s (keeping at least ½” away from any screws you have already installed).
Step 7: Install both screw eyes across from each other but only about ¼ – ½ of the way into the two 2 x 4’s. Leave plenty of room to tighten further.
Step 8: Slide 4 wire rope clamps on to the wire rope.
Step 9: Thread the wire rope through the screw eyes on both sides. Gather the excess (4”-5”) evenly on both sides and pull out most of the slack (but not too tight—you will tighten the wire rope fully when you finish screwing the screw eyes into the 2 x 4’s).
Step 10: Slide 2 of the wire rope clamps over the excess on each side. Tighten the nuts on the rope clamps with the socket set or crescent wrench (even a pair of pliers will do) until they are cinched down tightly on both wire ropes on both sides (i.e., the wire rope and the excess wire rope).
Step 11: Using a long screw driver or even a substantial metal spoon (which you put in the hole of the eye-hooks), twist the eye hooks (righty-tighty!) the rest of the way into the 2 x 4’s evenly on both sides until the wire rope is taught just like a guitar string. You’re done building!
Wrapping it up…Pick a sunny spot. Level the ground under the edges of the bed with a shovel. Set the bed in place on its bottom. Check all 4 sides with a level to ensure that the bed is basically level. Fill the bed with roughly 2 yards of soil (a mix of quality sand, compost, and loam works best).
And that’s it! Hopefully this helps!
For locals who’d like to hire William to build you one, email huntgardenbeds@gmail.com!
Looks great! Seems like you’re putting your time to good use! 🙂
Charmaine Ng | Architecture & Lifestyle Blog
http://charmainenyw.com
Looking mighty fine! Hard work pays of 🙂
Glad you shared this! Good luck to the gardeners and the builder. Sounds like a great spring/summer enterprise for William!
What is the cost to build a box that size?
if you’re using cedar, roughly $300-400 in supplies!
Gah. The anchor in the middle… genius! We made this box a few years ago, and it has definitely bowed over time. Should have thought about that anchor.